Game Boy Advance Development Continued
August 24, 2023
I am teaching CPSC 305 again this coming semester, for the first time in many years. As in the past, we'll be using the Game Boy Advance as the programming platform. We will be writing games for the platform using C and assembly code.
Mostly we'll be running them on emulators like VisualBoy Advance, which is very convenient for testing. However, there's a definite cool factor that only comes from running our code on the real hardware directly. In the past I used the EZ-Flash IV for this purpose, but mine stopped working. It also relied on patching software that didn't work very well.
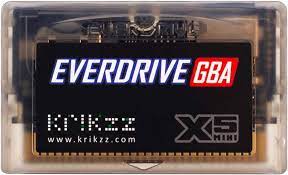
So this time I bought an EverDrive GBA which seems to be well-reviewed and wasn't too expensive:
The cartridge has a slot for a micro SD card. The SD card needs a GBA OS image which you can download from the EverDrive website. This basically is a little OS the GBA will boot into and provide a list of the ROM files for you to select.
Unfortunately after loading a few example programs from my course onto the SD card, none of them worked. I ran into a garbled Nintendo logo at which point the device froze indefinitely:
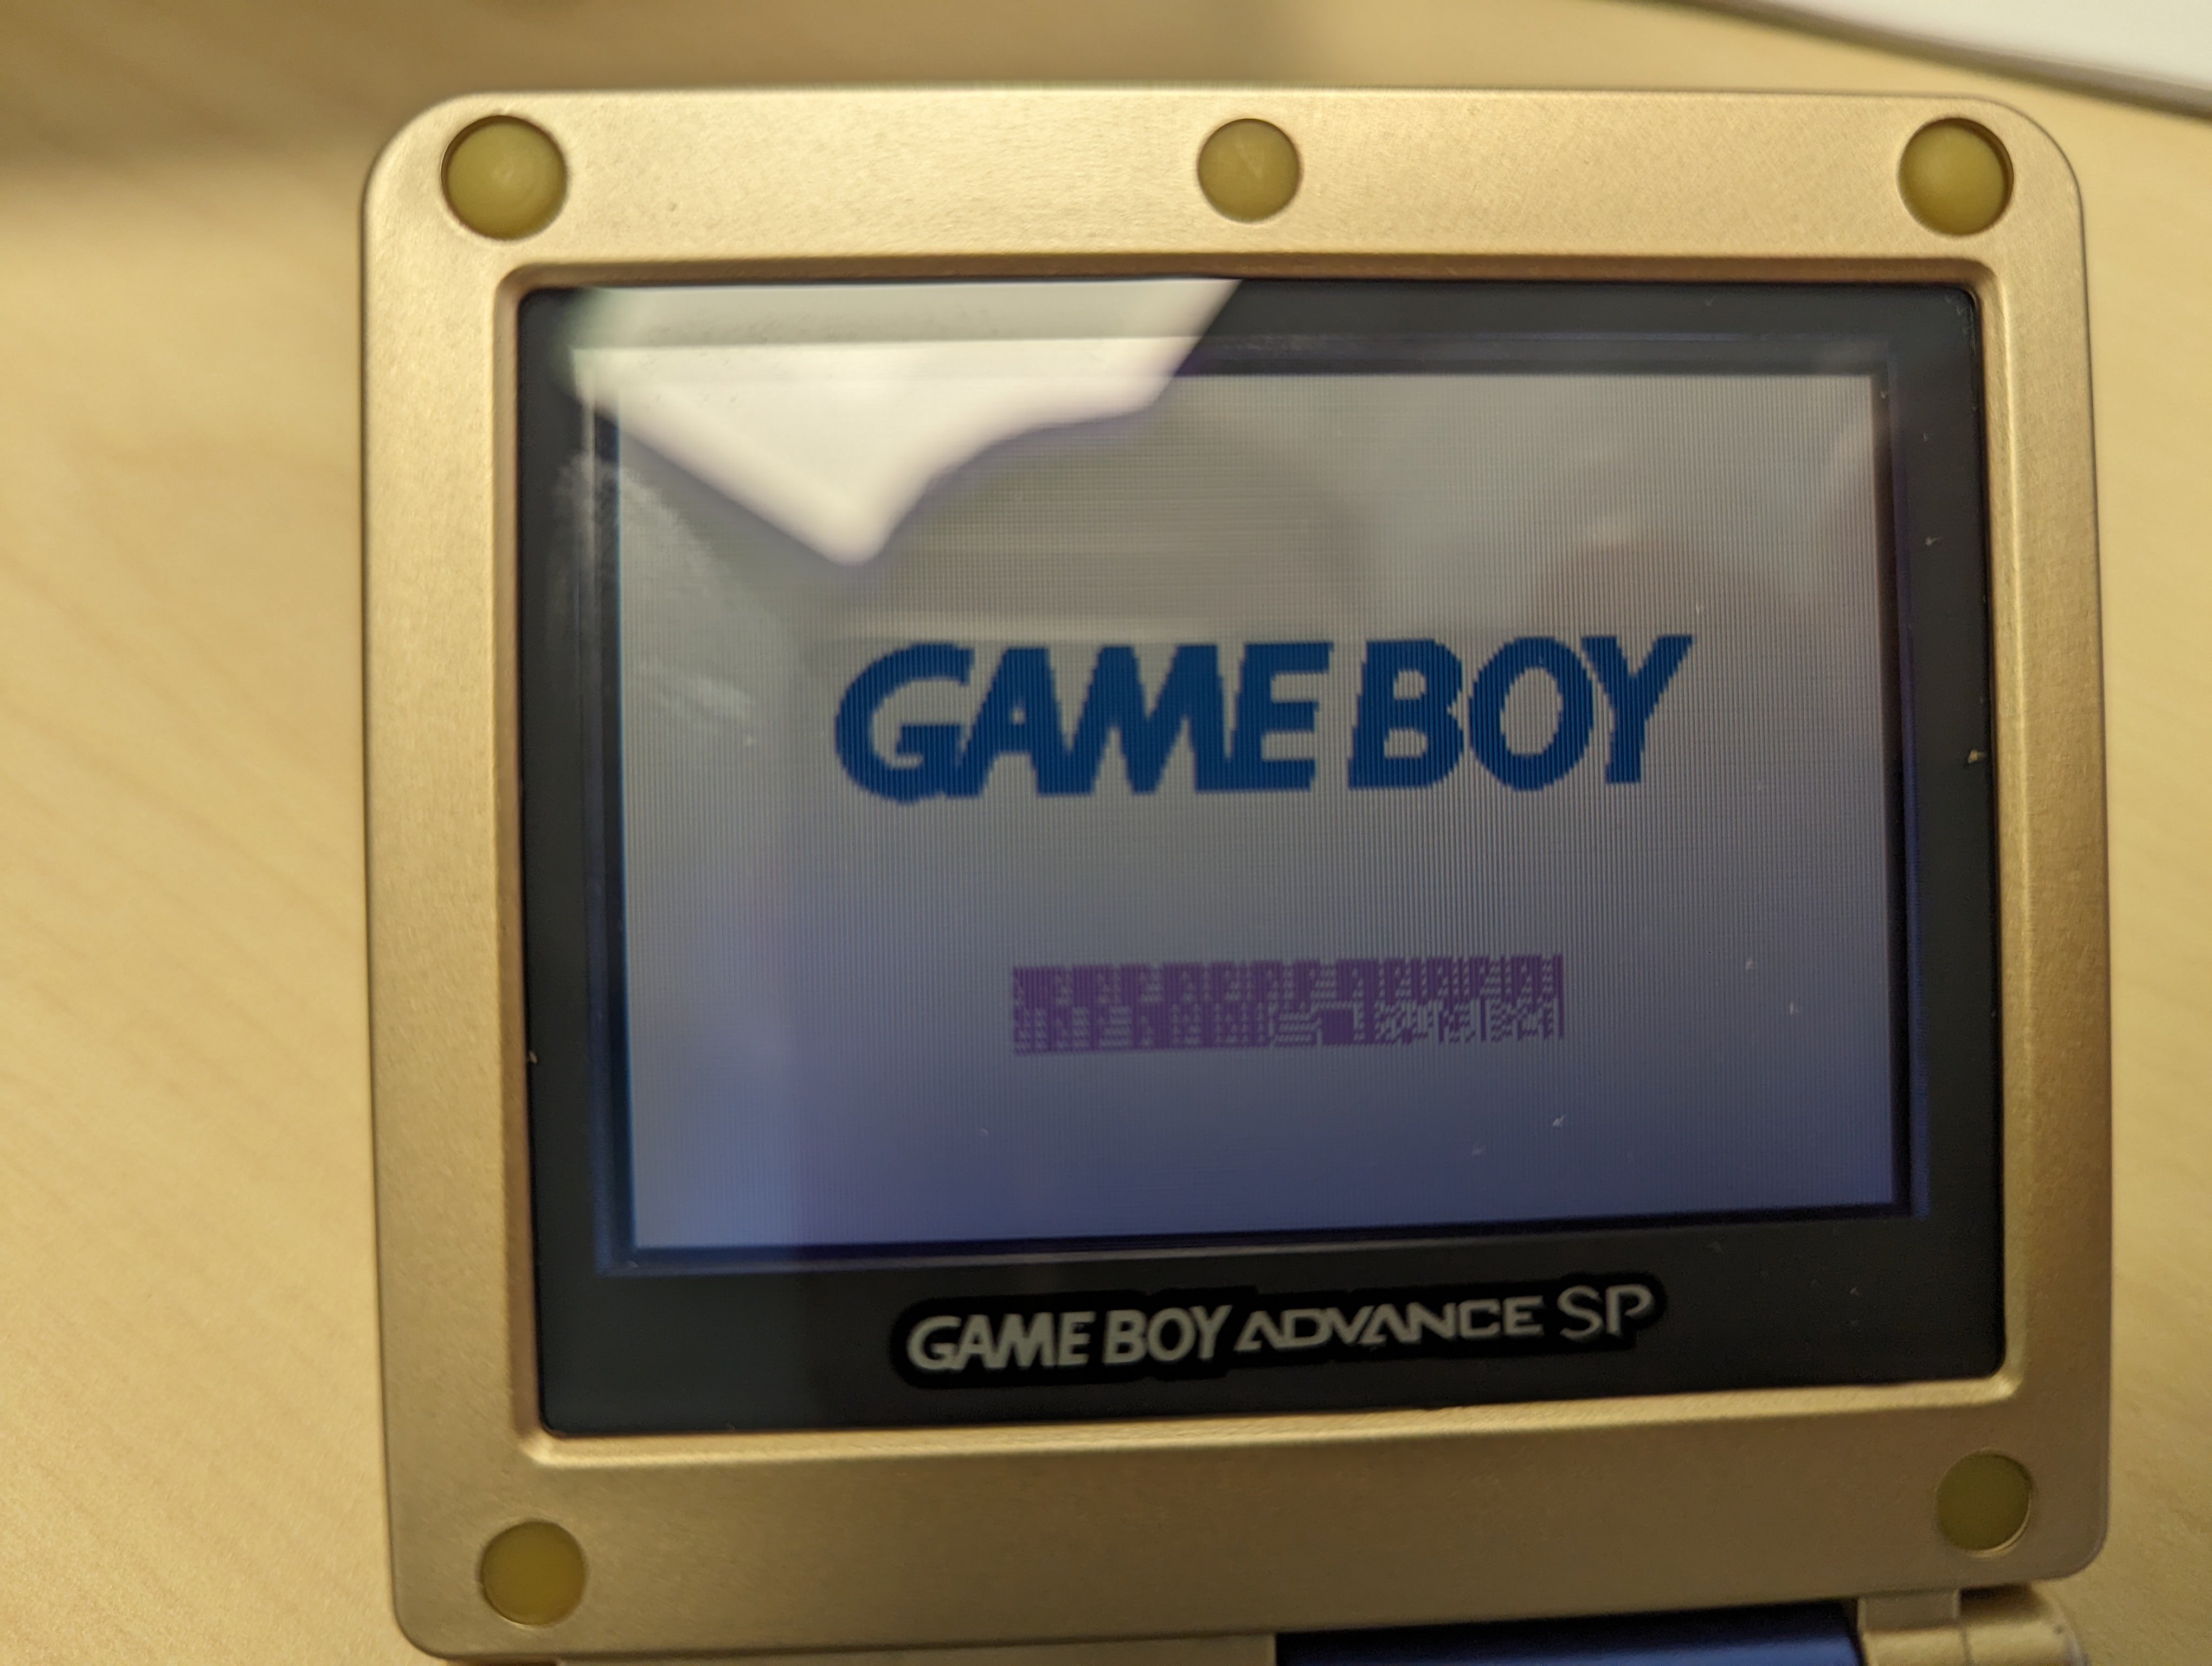
It's kind of hard to see in the photo, one of the biggest flaws with the GBA is its relatively dark screen, but the Nintendo logo is all scrambled.
I initially thought that the EverDrive or my SD card were not working. However I tested with a real GBA game I found online and this one did work. So the problem was therefore with my ROM files. After doing some research it turns out that the Nintendo logo is stored on the game cartridges (unlike the Game Boy logo which is on the device itself). This is used to verify the integrity of the cartridges. If the logo isn't right the GBA will not continue.
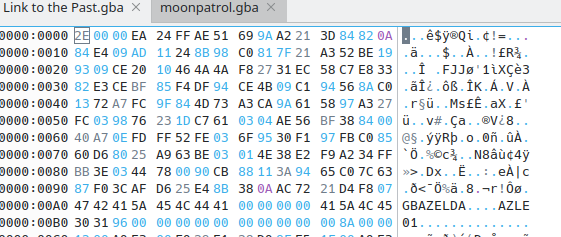
I opened up a hex editor and compared my .gba file with one from a professional game to see the difference. A hex editor is the best tool for inspecting the contents of binary files. They show you the numerical contents of each byte.
Below are the contents of two GBA ROM files. The one on the left is for Zelda: Link to the Past. The one on the right is for a clone of the game Moon Partrol that I wrote myself.
 |
 |
The first 4 bytes are the same. This actually contains an ARM assembly jump instruction to jump forward 192 bytes — past the rest of the header information. The next few dozen bytes are all obviously very different however. In mine they are all zero values, while the real game has lots of data. It turns out most of that is the bitmap image of the Nintendo logo.
You can also see the text "GBAZELDA", "AZLE", and "01" in the text area of the hex editor window. The GBA Rom headers also contain 12 bytes for the name of the game, and a 4 byte code, in ASCII characters. The "A" in the code indicates that this is a normal game. The "ZL" is an abbreviation of the game's name. The "E" indicates the language of the game. The "01" is the publisher's code, 01 being for Nintendo itself.
In order to get my game to run I needed to patch the file with this information. In doing that the resource GBA Cartridge Header was invaluable. Using that, along with pulling the hex values out of the Zelda ROM, I was able to write a patching utility which I've put online at https://github.com/IanFinlayson/gba-patcher/.
This program overwrites ROM files with the Nintendo logo, a name, and the codes into the correct bytes. There is also a checksum which is computed off the name and code information of the header. Again if the checksum is not correct, the GBA will not boot your game.
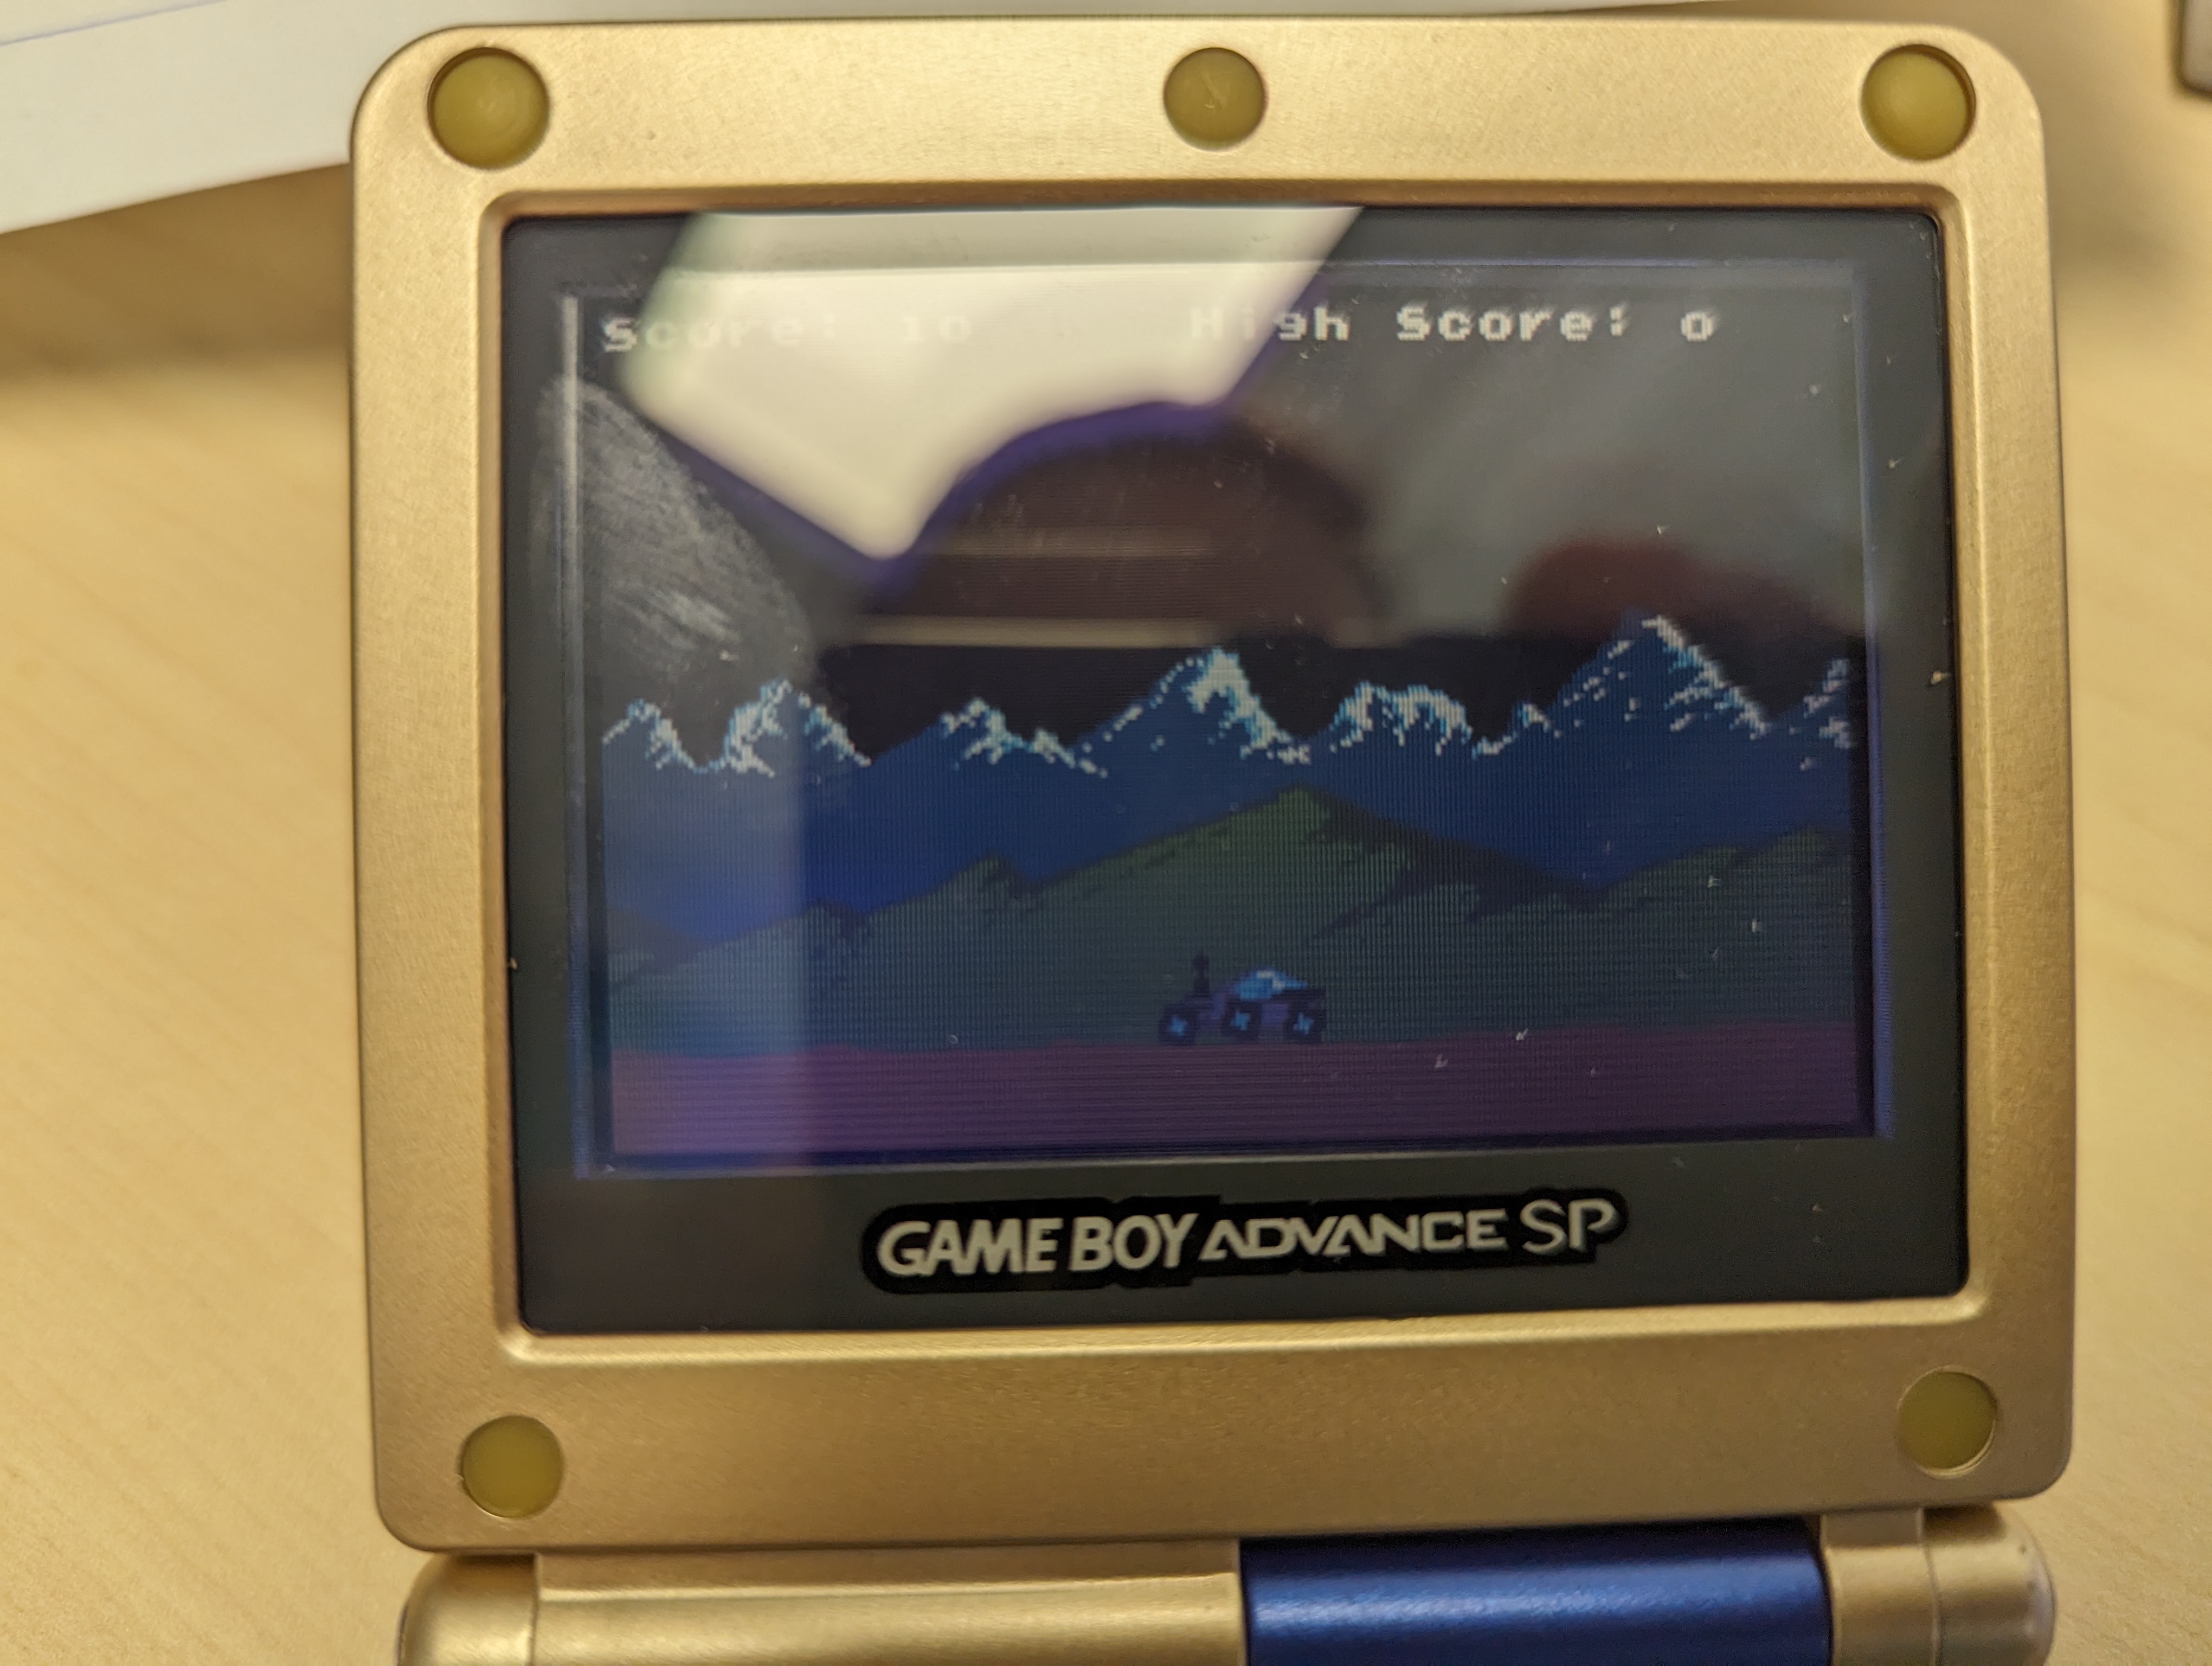
After patching my trial game, I got a promising looking logo:
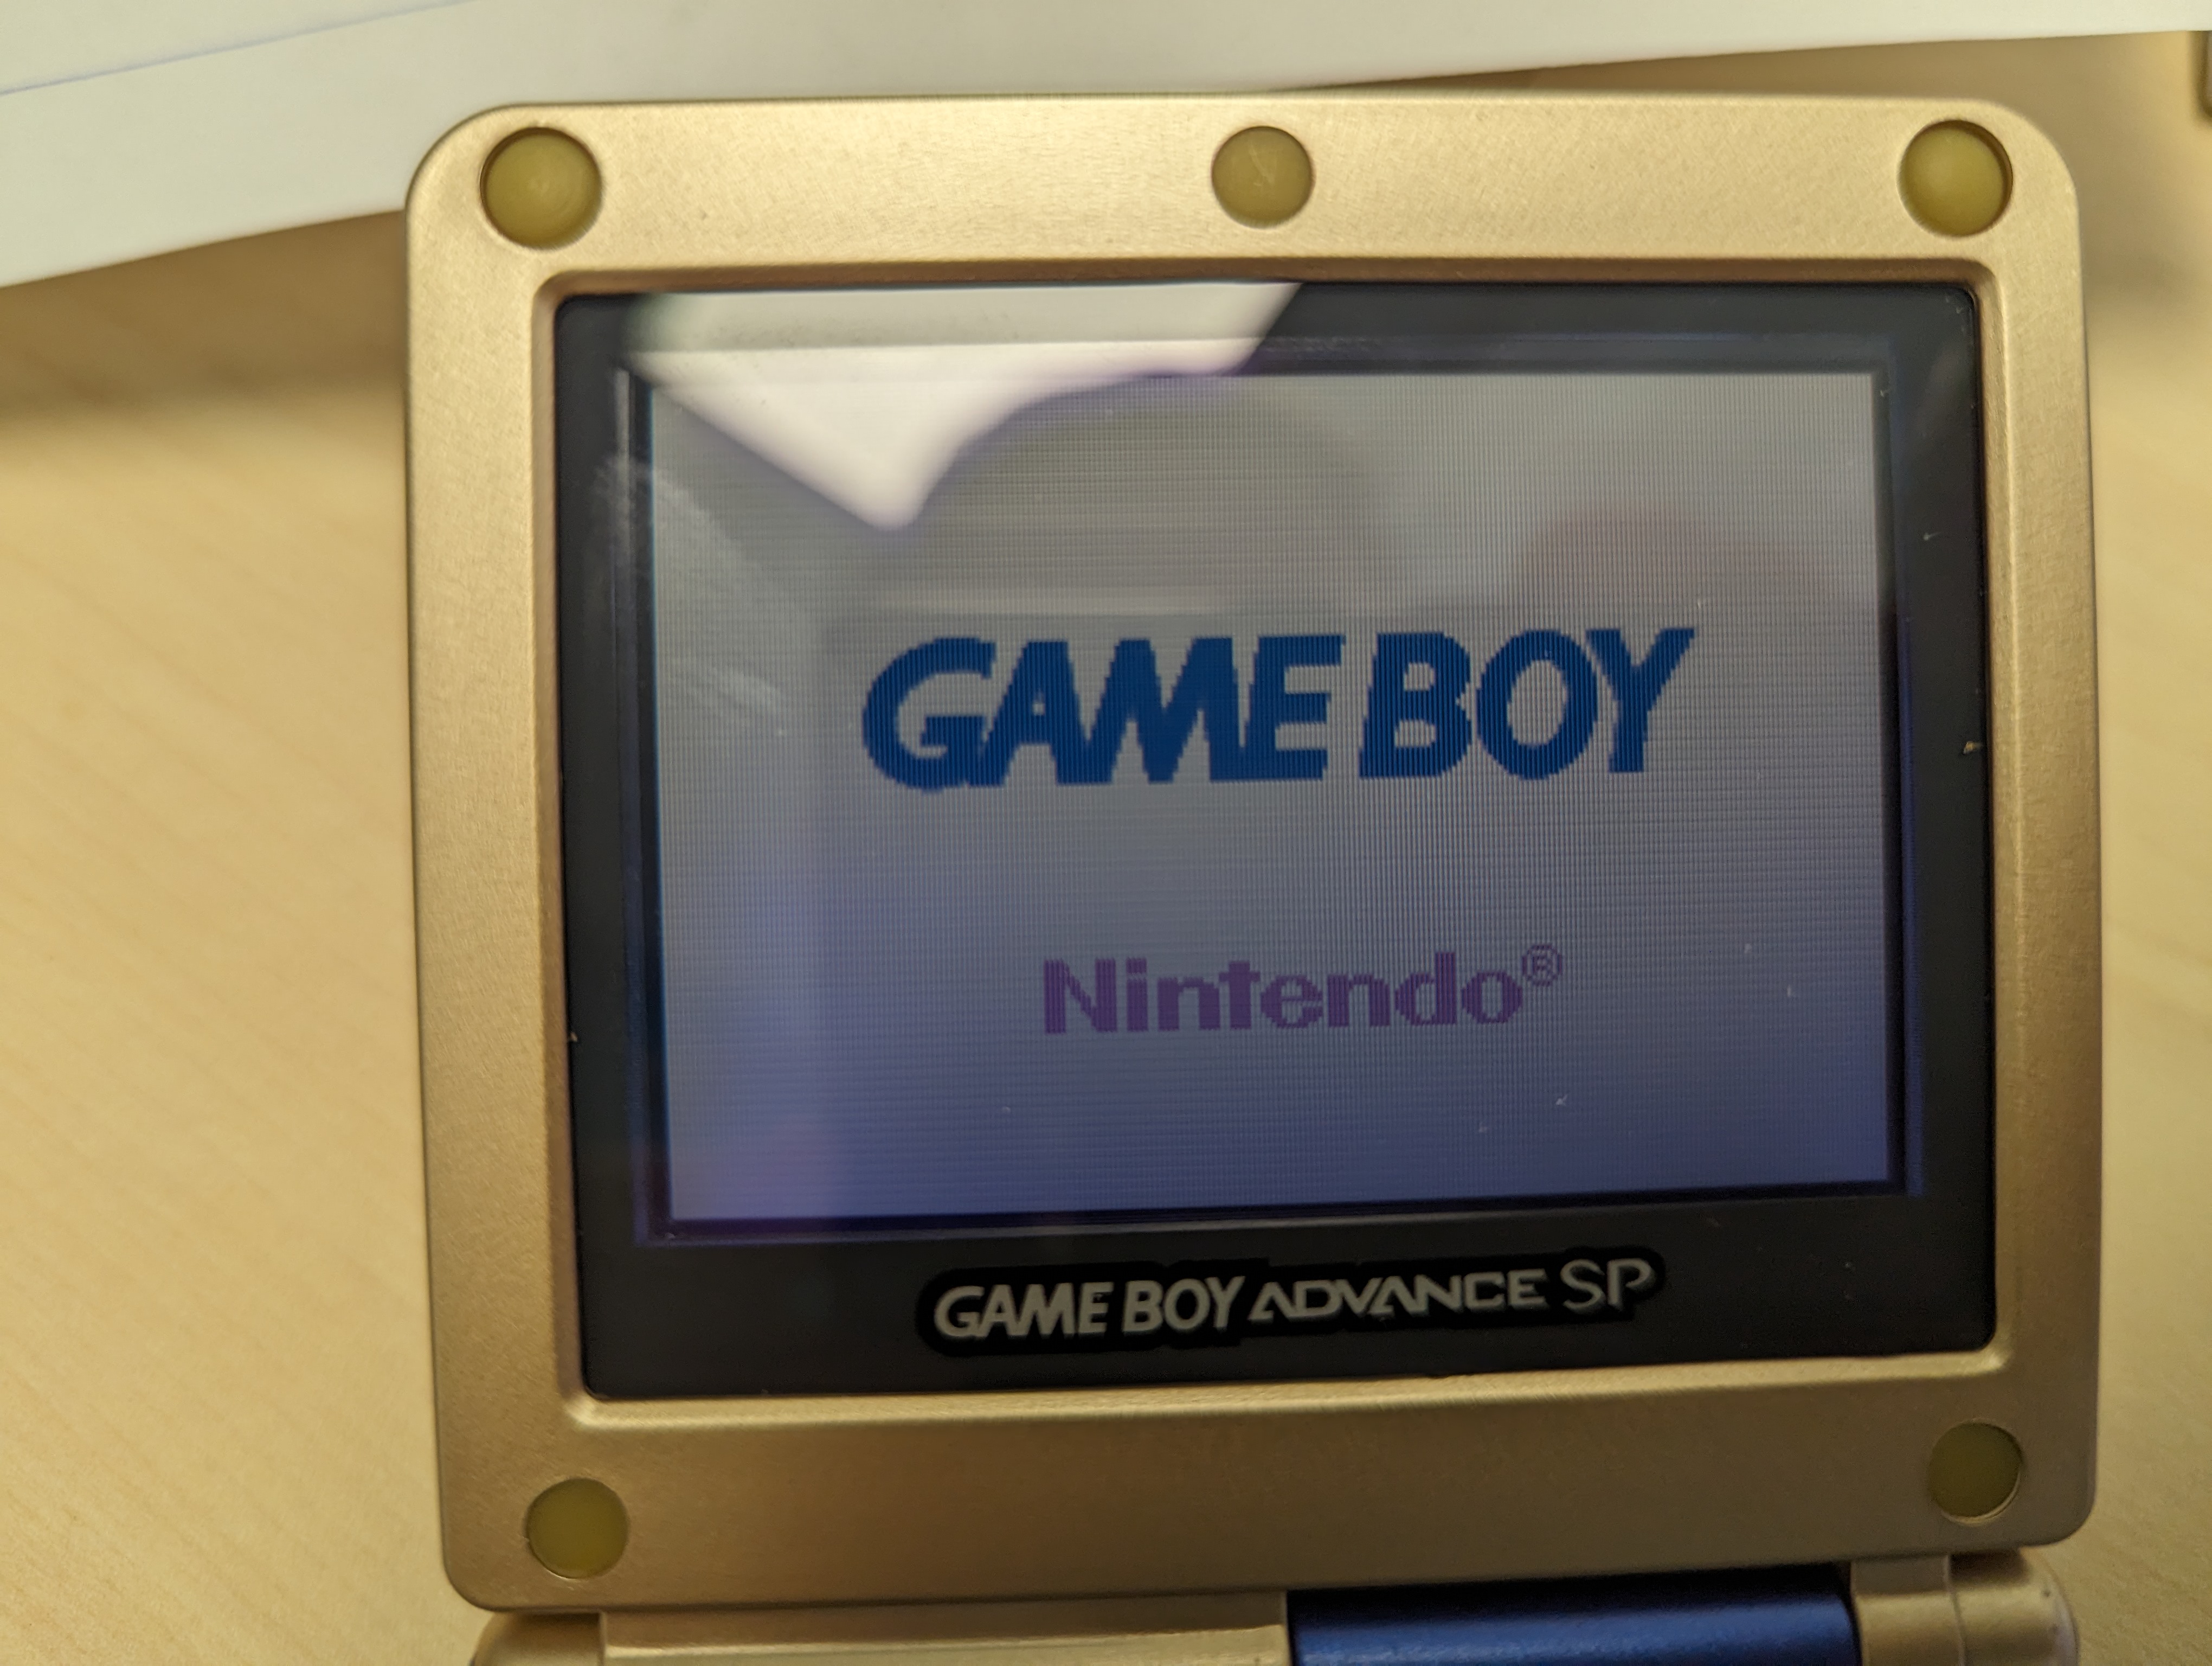
And finally my game is running on the real GBA!