Even More Vim
More Visual Modes
We have seen that the 'v' key brings us to visual mode. However, there are actually three distinct visual modes:
| Key | Mode |
v | Character visual mode |
Shift-v | Line visual mode |
Ctrl-v | Block visual mode |
The character visual mode allows us to put the end points of the selection on any character on any line. This is helpful if we want to select just part of a line.
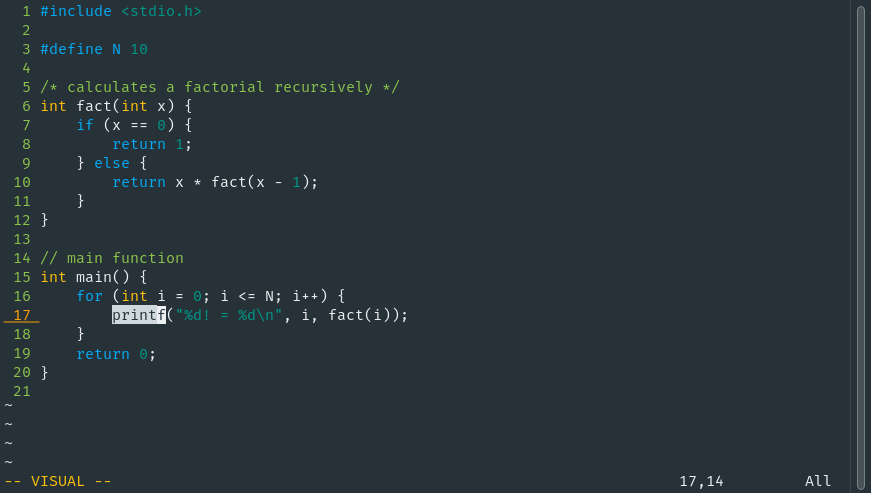
Character visual mode
The line visual mode is less fine-grained. In this mode we can only select entire lines at a time. It is helpful because most of the time we want to do things on entire lines at a time, and with line visual mode we don't need to make sure to set the end points at the start/end of the lines they are on.
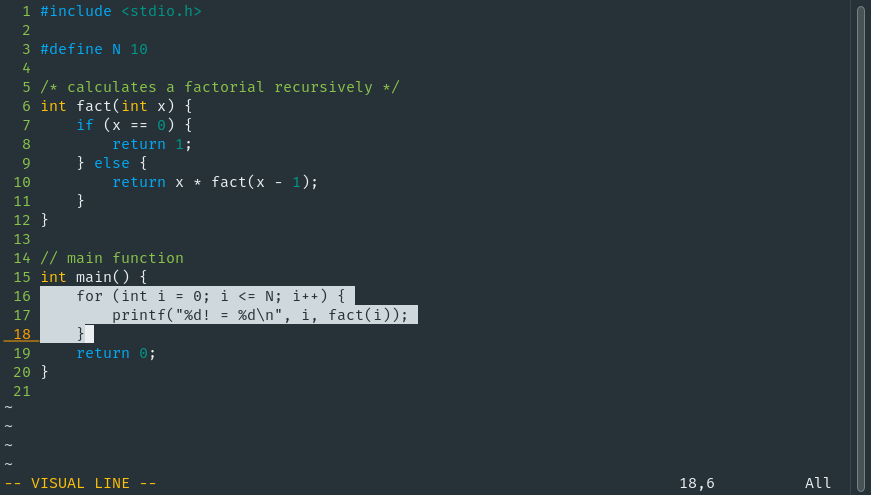
Line visual mode
If we want to move a block of code, we can go into line select mode, and choose the lines without needing to worry about getting the exact end points right. Then we will press 'd' to cut the text and 'p' to paste it some place else.
Finally there is block visual mode which is a little more interesting. Block visual mode lets us select a portion of text by row and column. We can select any rectangle of text within the file, which may just be a portion of a line.

Block visual mode
Block visual mode is very handy for working with text files that are formatted
by column, such as CSV files, or the outputs of programs like ps which
display results in columns. We can use the block visual mode to select an entire
column of text, which would be difficult otherwise.
External Commands
Vim allows you to run Unix commands, and view the results with the ":!" command.
For example, if you need to know what time it is:
:!date
You can also use this to execute the current file in an interpreter (Vim interprets "%" as the name of the current file).
:!python %
Or check the number of words you've written:
:!wc -w %
Vim also lets you paste the output of a UNIX command into the current buffer
with the ":.!" command:
:.!date
This runs an external command and puts the output into the file you are editing.
Key Mappings
Another way to customize Vim is to give custom key mappings. This can be done to shorten often used operations. These key mappings create new normal mode commands.
For example, we can map the 'n' key to mean toggle line numbering by putting the following into the .vimrc file:
nmap n :set number!<CR>
This maps the 'n' key to the key sequence on the right.
The command "set number!" is to toggle the number option.
The "<CR>" is a carriage return and refers to the
enter key.
However, the problem with this is that 'n' already has a meaning in Vim - it means jump to the next result of the most recent search. In fact, nearly every key has some existing meaning. To get around this, Vim has a "leader key" that has no default meaning. The default leader key is the "\" key. To make the new mapping using the leader key, you could do the following:
nmap <Leader>n :set number!<CR>
Now entering the command "\n" will toggle line numbering.
We have as many commands on the right hand side as we want. The following mapping maps "\p" to a command which toggles both line numbering and Vim's "paste mode":
nmap <Leader>p :set paste!<CR>:set number!<CR>This is helpful for copying and pasting to or from Vim since, we don't normally want to copy line numbers and Vim's paste mode disables auto-indentation, abbreviations etc.
You can change the leader key if you want to. Popular alternatives to '\' include ',':
let mapleader=","
And the space bar:
let mapleader=" "
Abbreviations
Another handy thing to put in your .vimrc is an abbreviation. This works by replacing a piece of text you type with another. For example, with the following line in the .vimrc:ab tumw The University of Mary Washington
We can type "tumw" and Vim will replace it with "The University of Mary Washington".
Note that the key mappings discussed above are for normal mode, while abbreviations are for insert mode. The left part of an abbreviation should not be anything that you would type normally, as Vim will automatically replace it with the right hand side.
Completion
Vim has a simple ability to do completion. It is not based on semantic meaning (like that of an IDE), but only on the words that exist in the same file.
It can be triggered by typing Ctrl-N which will choose the next word that matches. If there are multiple, you can cycle through them with Ctrl-N and Ctrl-P.
Vim Backup Files
When you are editing a file with Vim, it makes a backup file to save your unsaved changes. If you close Vim normally, it will remove these backup files automatically and you will never notice them. However, if you lose your SSH connection, or close the terminal window without exiting Vim first, then the backup file will remain behind. The next time you open that same file with Vim, you will see a message like this:
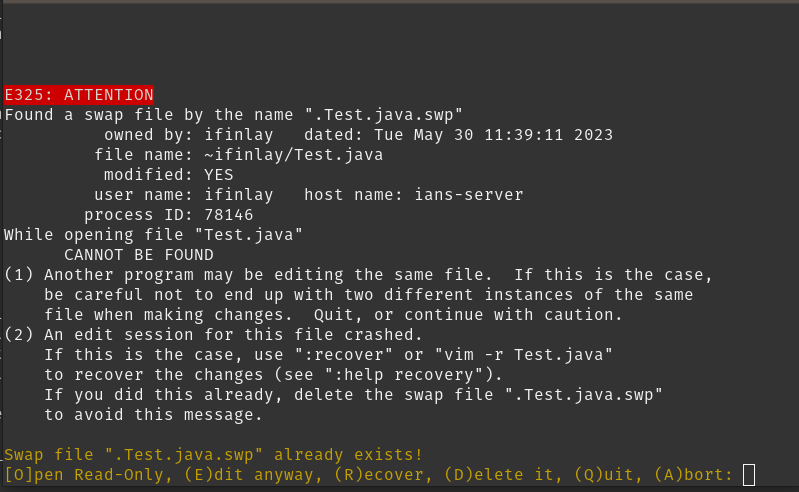
Vim recovery file message
This means that Vim wasn't closed properly last time and so has a recovery file still there. It can also mean that you have another terminal window open that's editing the same file.
When you see this, I would recommend first checking the file as it exists on disk by choosing 'O' to open it read-only. If that brings up the file as you expect and want it to look, then close Vim and delete the backup file (either by choosing the 'D' option from the menu or just removing the hidden .swp file).
If opening the file with 'O' does not bring up you want, it's possible the backup file has changes you made which weren't saved. In that case, open the file again and choose 'R' to recover from the backup file. Save the file properly and quit. Then you can safely delete the backup file.
Macros
Vim macros are one of the coolest things about Vim. They allow you to record,
and then play back, sequences of commands. We begin a macro in normal mode with
the q command, followed by any letter. Just like Vim registers and marks, we
have 26 macros, one for each letter. Then we enter some string of commands, and
finally finish with q to end the macro. Then we can play it back whenever we
want with the @ command followed by the macro name.
For instance we can make a macro called 'a' to delete 5 words with qa5dwq
and then trigger it with the command @a. We probably would not want something
so basic as a macro, but this shows the syntax for them.
For a larger example, let's say we need to write a function that returns a different value for each of the numbers 0 through 9. We could do this with a switch statement where the cases are the values 0-9. Rather than write that all by hand, let's do it with a macro! We can start by tying the start of the switch, followed by the first case and break:
char getThing(int value) {

    switch (value) {
        case 0:
            break;
Now we can generate the other 9 cases automatically with a macro. Put the cursor on
the start of the word "case". Then we will do the following macro recording qaVjyp^abq.
This gibberish of commands is broken down like this:
qabegin recording macro aVgo into line visual select modejgo down a line to select the case and break linesycopy the selected textppaste it down below^athis is Control-a and is the Vim command to add 1 to the next number in this line, which increases the case value from 0 to 1bjump back one word so the cursor is on the start of the word "case" againqfinish recording this macro
Macros are much easier to write than read, since you can see what's happening on your screen as you record it. Vim carries out the commands that comprise the macro, so after executing it, we've added the second case line, so the code now looks like this:
char getThing(int value) {

    switch (value) {
        case 0:
            break;
        case 1:
            break;
At this point, we can run the macro with @a to add another case line. Even better we can run 8@a and Vim will
write in 8 more cases, with numbers 2-9! Now the code looks like this:
char getThing(int value) {

    switch (value) {
        case 0:
            break;
        case 1:
            break;
        case 2:
            break;
        case 3:
            break;
        case 4:
            break;
        case 5:
            break;
        case 6:
            break;
        case 7:
            break;
        case 8:
            break;
        case 9:
            break;
The cool thing about this is that we could have used it to generate case lines going up to 100, 1000, or even more. (Though at that point we should perhaps ask ourselves if a switch statement is the best way of doing things.)
Here's another macro example, which I use when writing markdown files. In markdown, you can make headings by putting = signs under the name of the heading, like this:
On Antelope Migration
=====================
After typing out the name of heading, we could type all the = signs ourselves, or we could record a macro to do it for us.
To record this macro, we can use the command quyypV:s/./=/g<Enter>:nohl<Enter>kq
Again this looks like nonsense, but is straightforward to write as it just does what we need to have happen. The general approach here is to copy the text of the heading below itself, then replace each character in it with an = character. That way they length is the same:
quBegin recording a macro called u (for underline)yyCopy the current line (the heading title)pPaste it belowVGo into line selection which will select only the current line:s/./=/gDo a substitution on this line replacing any character (.) with the = character<Enter>Actually hit enter to run the substitution:nohlThis Vim command stops highlighting search results, so we don't have every character in the file highlighted for searching for '.'<Enter>Actually hit enter to run the nohlkGo back up to the heading nameqFinish this macro
Now on any line in a file we can hit @u to underline the text in it! One nice thing about macros
is that they are saved between runs of Vim. So you can record macros and then use them other days, after quitting
and restarting Vim.